
Step 3: How To Use A WordPress Blog
Need to install WordPress on your blog? Go back to Step 2 and do so right now!
You’re almost ready to start blogging when WordPress is installed on your website. I’m only going to walk you through the essentials in this stage so you can start using your new WordPress site. The step that follows will walk you through some more sophisticated customization options for the look and feel of your blog.
Login To Your WordPress Blog
To access the login screen, there are two options. 1. Go to your website by typing https://www.yourwebsite.com/wp-admin and enter your credentials OR 2.Navigate to BlueHost.com and click the “Login” option located in the upper right corner. You can use the password reset link on the login page or refer to the email you received from BlueHost if you are unsure of your login name or password.

Change Blog Title And Tagline
You can access the WordPress blog administrator section by clicking the blue “WordPress” button after logging in. This is the section where you will edit your blog as you see fit. First things first, you should definitely rename your blog. Click “Settings” at the bottom of the left menu to accomplish this. This ought to bring up this screen:
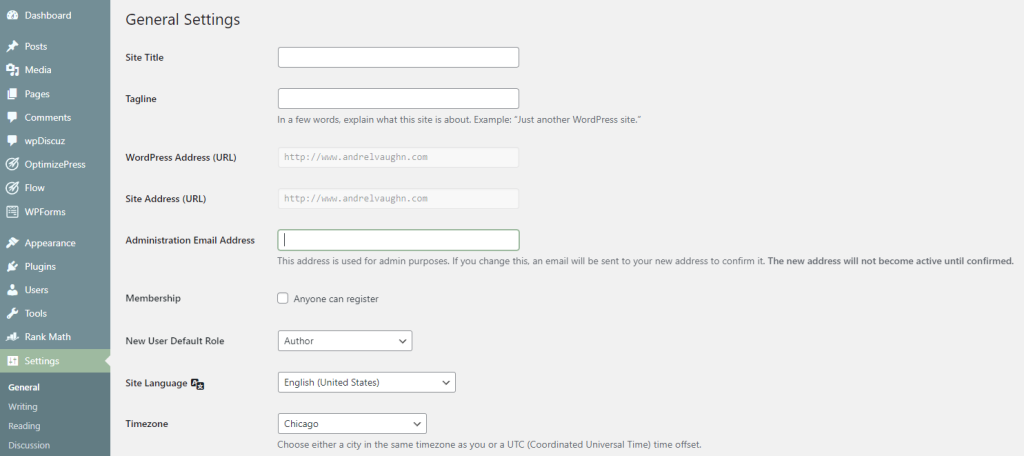
On this screen, you can change your “Site Title” and your “Tagline,” which is your subtitle. Once you’ve entered anything you want in these two boxes, scroll to the bottom and choose “Save Changes.”
As soon as you save these changes, your website will immediately reflect them. To see how your site looks at any time, just type your domain name into the browser and press Enter.

Write Your First Blog Post
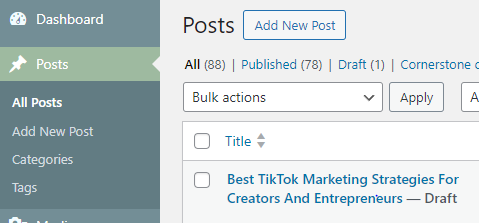
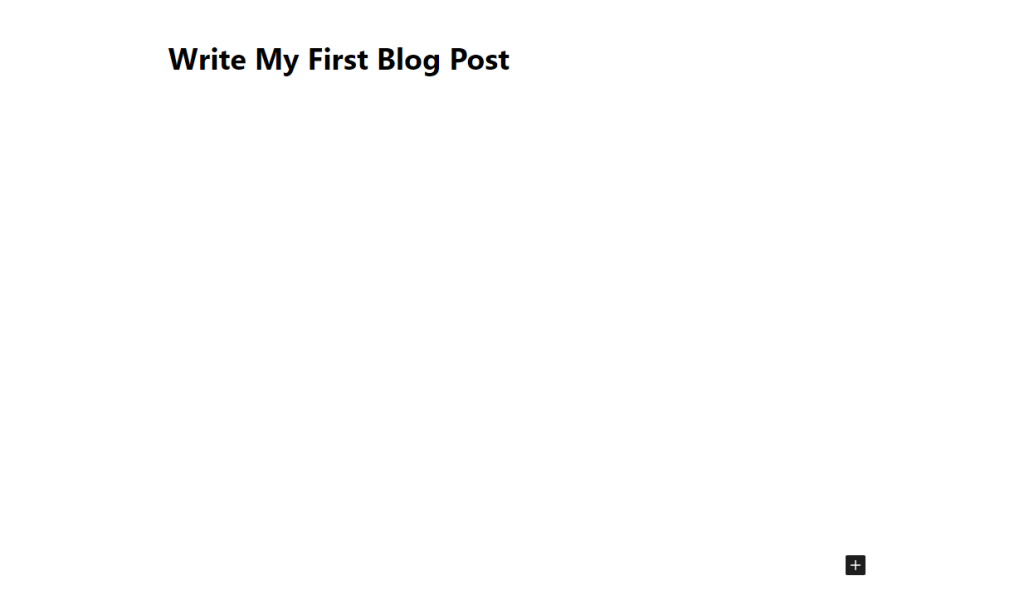
Write Your Blog Post Title
Your blog title is obviously important. You should know or determine what works for your audience. It’s something that you can tinker around with so don’t be afraid to change it multiple times until it resonates. There’s nothing around with keeping it short and simple as well.
What should your first blog post be about? Anything that you want as long as it’s relevant to your overall topic and/or purpose of your blog. You could introduce yourself, explain why you started your blog, detail the topics that you plan to address, etc. and so much more!
We HIGHLY Suggest To Add Photos To Your Blog Post
Click the “Media” button and choose “Select Files” to upload a photo from your computer if you would like to include one in your article. On the screen that appears after, you can change the picture’s alignment and size. Once everything is ready, click “Insert into post” to include the photo.


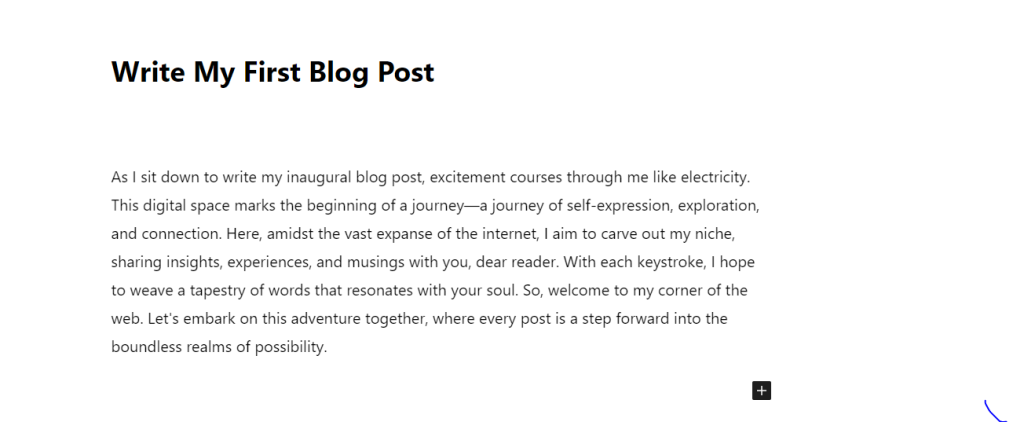
Write First Blog Post (Completed) Without Images
As I stated above, we recommend images in blog posts but for demonstration purposes (below) we didn’t add any. As a matter of fact, be sure to add multiple images in your blog posts because you want the reader to have a good or better user experience.
Publish Your First Blog Post
Click “Publish” in the upper right corner to make the post public. There are a few publication options available to you; choose “Public” if you want this post to be seen to everyone online.
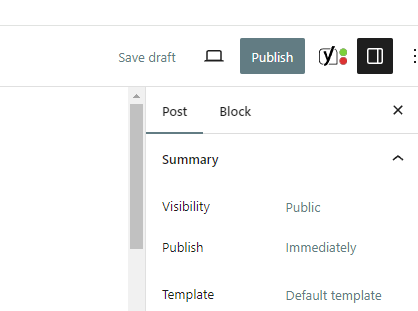
The next decision you need to make is whether you want your post to publish right away or later. You have the option to publish it right away or on a later date.
Your blog post will automatically go online on the specified date and time if you schedule it. This will be really helpful if you are adhering to an editorial calendar.
Guess What?
You have a working, LIVE BLOG now so CONGRATS! You know how to publish content and get your blog posts out to the world if you follow my simple steps above.
As I outline above, you will likely want to make some further adjustments to your blog, but since your site is now operational and public, none of them are strictly required!

Check Out More Helpful Content
Here’s The Perfect Blog Post Structure For You To Write
What Is A Blog Post? Benefits And Why You Need One
21+ Blogging Tips For Beginners And (Beginner Blogger Mistakes)
What Is A Blog? (Differences And Comparisons To A Website)
WordPress.com VS WordPress.org Self Hosted Or Free (Which Is Better?)