

Step 4: Blog Modification (How To Customize Your WordPress Blog)
Go to Step 2 to utilize my simple WordPress install instructions if you haven’t already installed WordPress.
We can go into further detail now that you are familiar with the fundamentals of your blog. With WordPress, you can create a blog in almost any form you can think of thanks to its incredible power.
It’s likely that you’re thinking that your blog’s design is currently somewhat plain. Don’t worry, I’ll walk you through changing your blog’s layout and design in this stage, along with a ton of other awesome personalization tips and techniques.
To view the guide for each topic, use the arrows below:
Fundamental Blog Design
Everybody has a different vision for the appearance of their blog. One of the best things about WordPress is that it only takes a few clicks to completely alter the look and feel of your website. These are just a handful of free WordPress design examples:
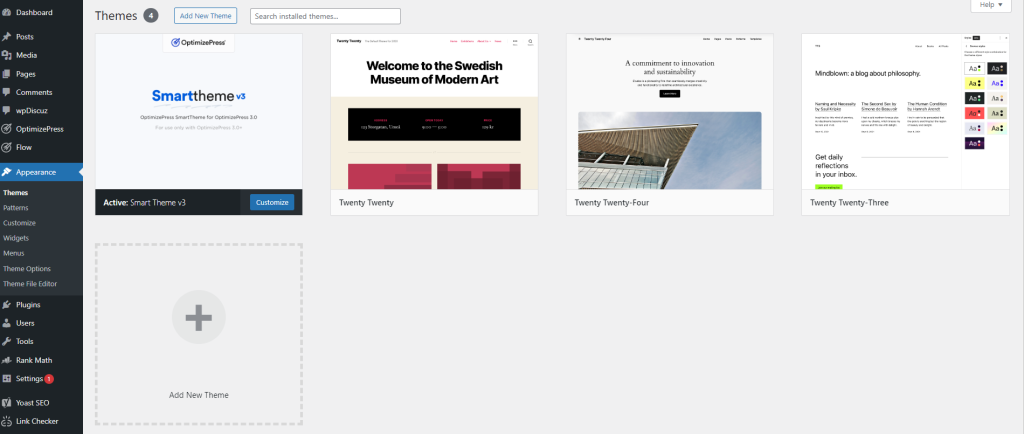
Site designs in WordPress are referred to as “Themes.” Your blog’s whole design is dictated by its theme. You must select the “Appearance” tab from the menu on the left in order to modify your theme.
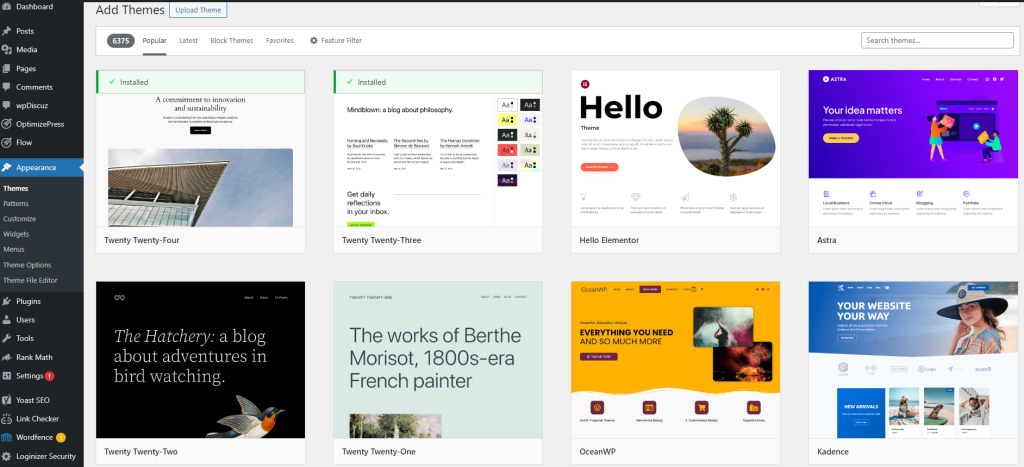
Your blog already has a number of themes installed, such as Twenty Fifteen, Twenty Fourteen, etc. These themes are straightforward and well-designed, suitable for nearly every kind of blog. In actuality, a large number of the best bloggers worldwide utilize one of these themes.
I advise you to start with one of these pre-installed themes for your blog unless you have a very specific design in mind. Hover your cursor over the theme and select “Activate” to make the theme active on your blog. And that’s it! Your blog’s entire layout has just changed just like that.
Don’t worry if you don’t like the themes that are already installed on your blog. You can install thousands of additional free themes with ease.
Click the “Appearance” tab in the left menu to install a new theme. You will click the “Add New” button located at the top of the screen that appears.
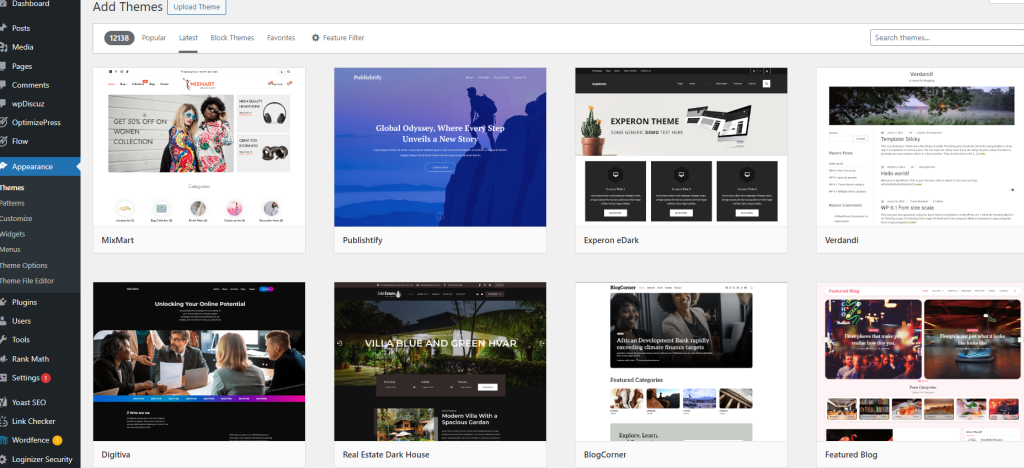
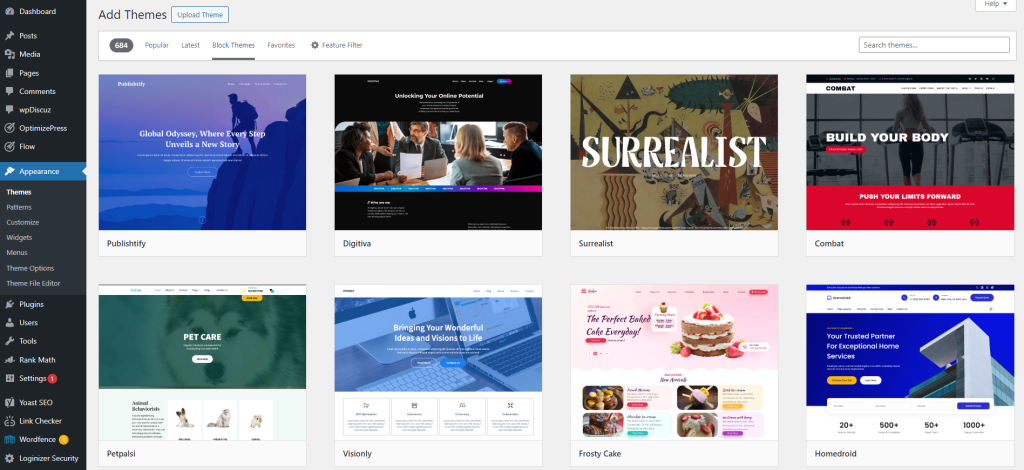
The theme search screen will then appear. Finding a topic you enjoy can be done in a variety of ways. By selecting “Feature Filter,” you can search by color, layout, and other criteria. After selecting the desired options in the Feature Filter, click “Apply Filters.”
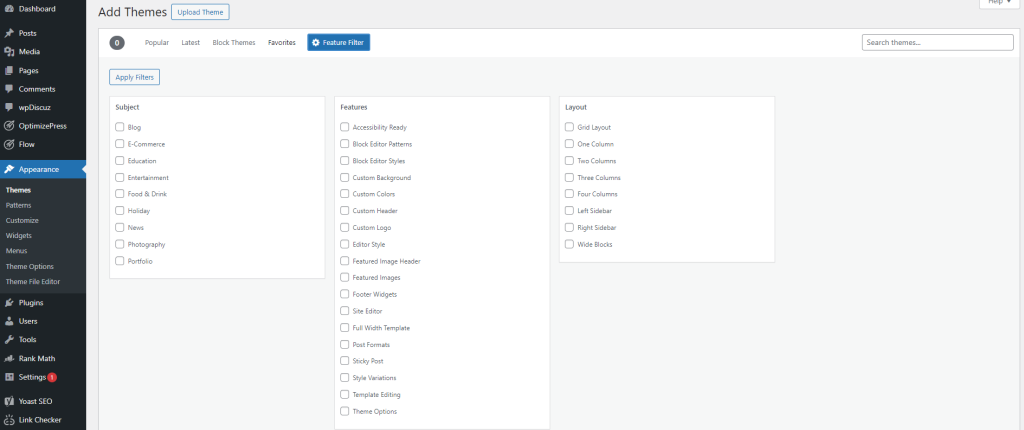
You can now look through the themes with the features you desire. Once you’ve selected one you like, use your mouse to hover over it and select the blue “Install” button.
Click “Activate” to make the theme active on your blog after it has been installed. Visit your website and have a look to check how your new theme works!
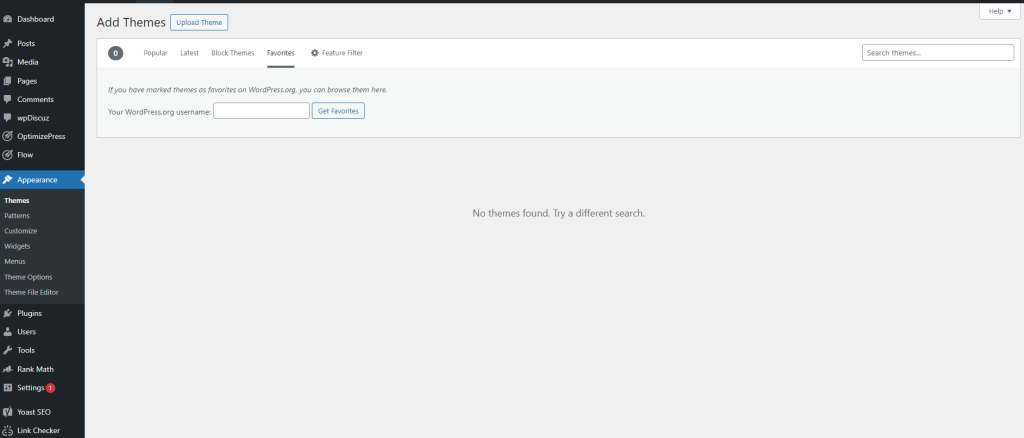
The “Favorites” tab in WordPress.org is a handy feature that allows users to curate a collection of their favorite themes. It provides an easy way to bookmark and access preferred themes for future reference.
Users can browse through the vast repository of themes and mark the ones they like for quick access later. This feature streamlines the process of finding and selecting themes, saving users time and effort.

Crafting WordPress Blog Menus
To enable readers to quickly locate significant portions of your website by clicking on the menu links, the next stage in the process is to develop a simple navigation menu.
To accomplish this, select the “Appearance” tab from the blog administrator area’s left menu. Next, select “Menus.”
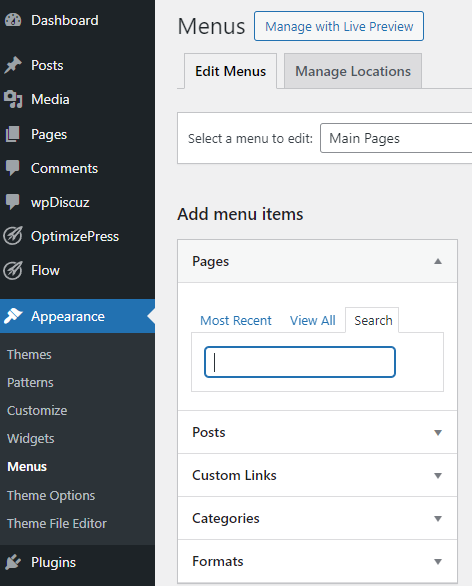
“Main Menu” is the new menu that we’re going to develop. Proceed to type that name into the “Menu Name” field and select “Create Menu” afterward.
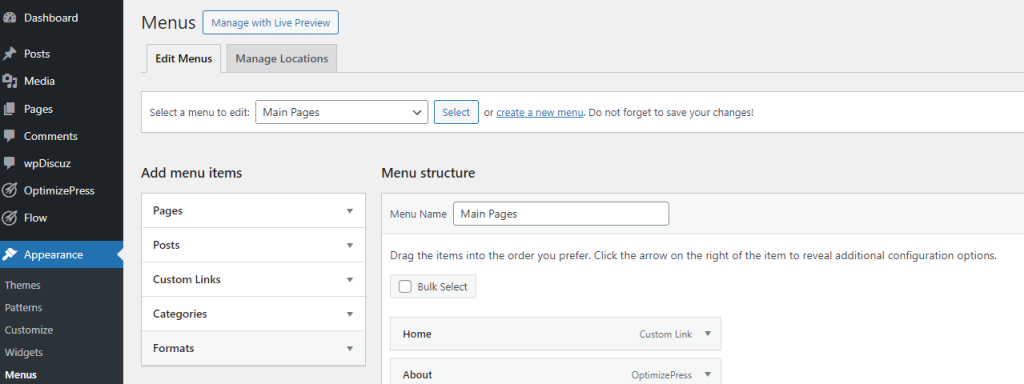
We can now start adding the things we desire to this menu. I’m going to start by including a link to my blog’s home page in our example.
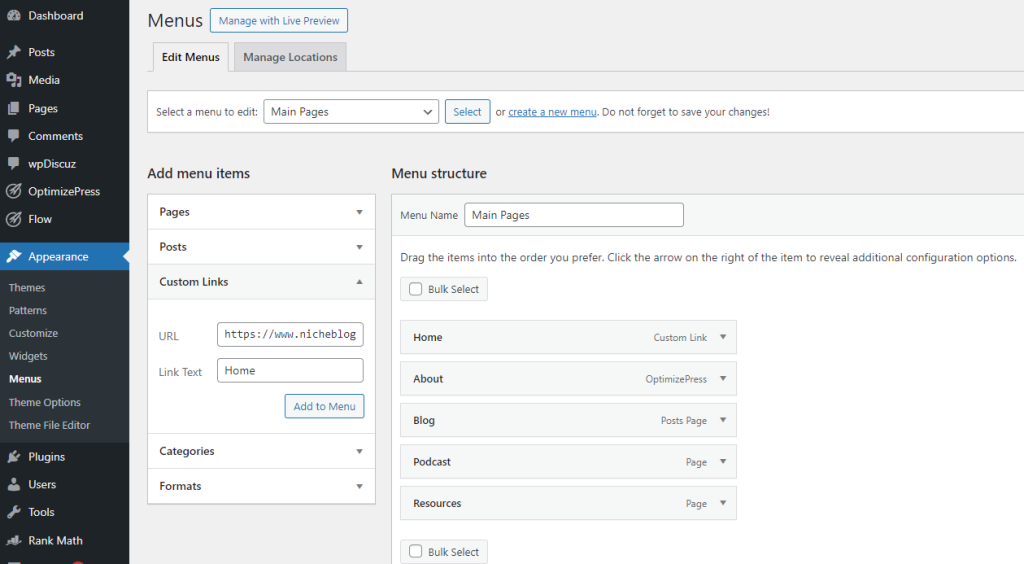
I’m going to click “Custom Links” to accomplish this. Next, I’ll type in the homepage URL for my blog. This merely consists of your domain name preceded by “http://” (no quotes). I’m using https://www.nichebloggingtips.com for our example.
The text you wish to appear in the menu for the link to your homepage is the “Link Text,” which you must next enter. This URL will now be referred to as “Home.”
Click “Add to Menu” after inputting your URL and link text.
For now, let’s add just one more item to the navigation menu. I’m going to include a link to a prior page I made.
Click the “Pages” option in the menu editor to get started.
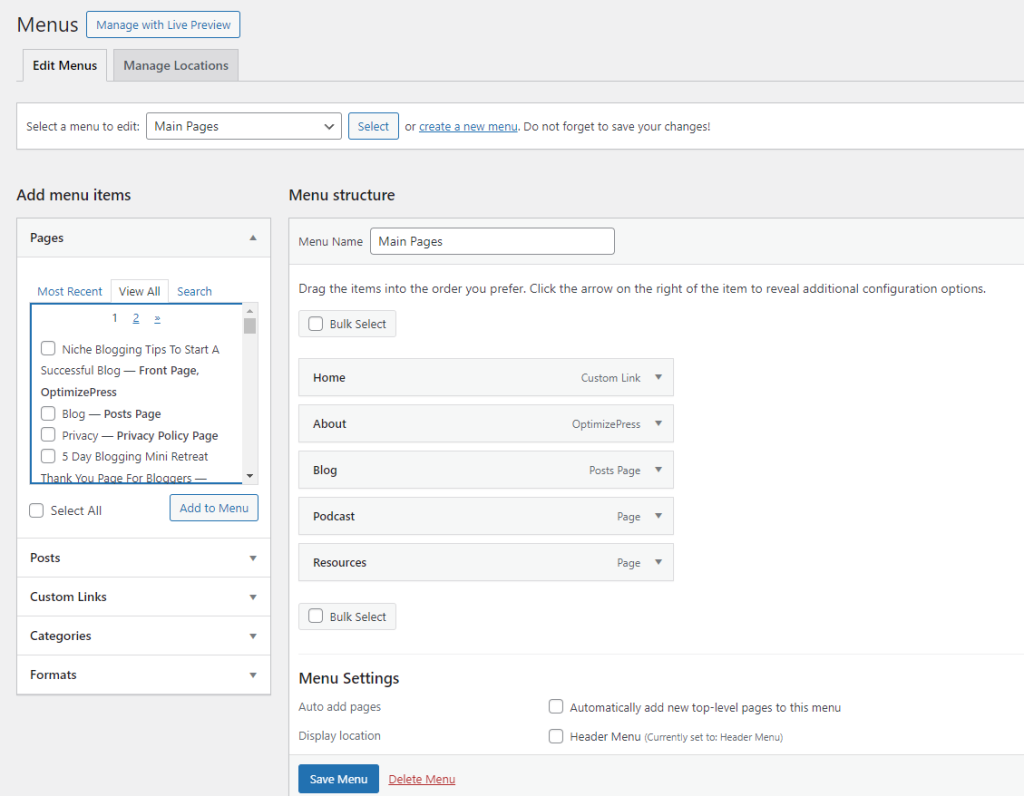
This will display every page I have made thus far. In case you haven’t made any pages yet, this section might be empty or could display a “Sample Page.” Go to “Pages” on the blog administrator area’s left menu and select “Add New” to start a new page.
Select the checkbox next to the page named “Podcast” (for example) and then select “Add to Menu” in order to add it to the menu. I’ll then select “Save Menu” to keep the modifications I just made.

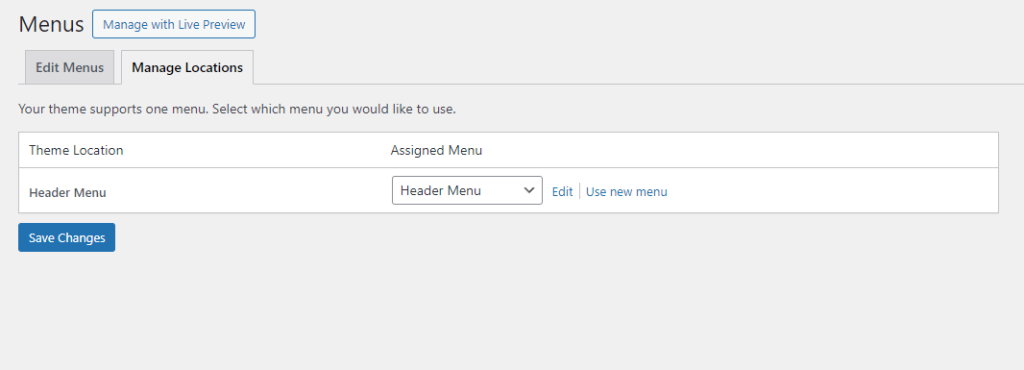
I have to post my menu to my blog now that I have made it. Click the “Manage Locations” option to accomplish this. I added the menu that we made to the section labeled “Header Menu” in this example. To do this, simply use the drop-down box and select “Save Changes.”
Learning how to create dynamic menus for WordPress websites will enable users to elegantly and fluidly traverse information. Through the utilization of WordPress’s inherent flexibility and customization capabilities, bloggers can customize menus to meet their specific brand identity and user experience preferences.
These menus are strategically placed and have an intuitive design that makes them an invaluable resource for improving site usability and engagement. Accept the possibilities and enhance your WordPress blog with well designed menus that enthrall and conveniently guide your readers.

Modifying Your WordPress Blog Design
Once your blog’s layout and style are basic, you can further alter it to your own. Navigate to the “Appearance” tab in the blog administrator area’s left menu to accomplish this. Next, select “Customize.”
This will take you to a screen where the customization menu is on the left and your blog homepage is on the right. Important: Your customization options may alter significantly if you are using a different theme than the one I am using in this example.
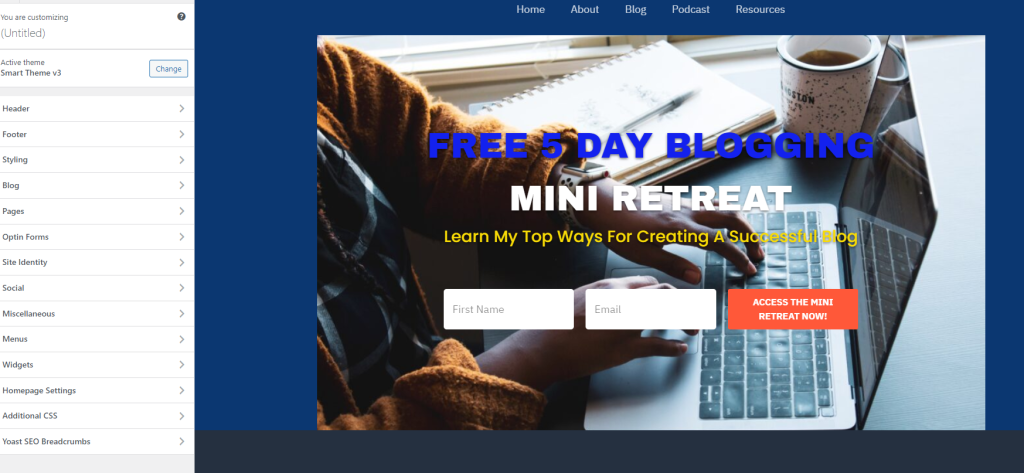
There are a variety of customizations you can do from this screen. I am using the Optimize Press Theme for the Niche Blogging Tips website. But let’s take a look at a few of them that you will see on most WordPress themes.
Title & Tagline of the Website
You can modify the title and subtitle that show up at the top of your blog by going to this section. By unchecking the “Display Header Text” box, you can also completely eliminate these.
Colors
Both the background color and the text color of your header can be altered here.
Header
You can include a picture in your header by using this option. Please be aware that the recommended picture size for the header will vary depending on the theme.
Navigation
Here, you may select which of your navigation menus to use. You must have already established the menu, which I walk you through in a previous stage on this page.
Widgets
You can add a variety of widgets to the sidebar menus of your blogs. You can add and delete widgets from your sidebar menu(s) using this section. Since this is a bit more involved than the prior choices, let’s look at an illustration.
To begin, select “Main Sidebar” after selecting “Widgets.” This will present you with a list of the widgets that are in use in the “Main Sidebar” section right now.

How To Add Plugins
Especially on self-hosted platforms, plugins provide the foundation for customizing and improving functionality on WordPress websites.
They function similarly to mini-applications and may be seamlessly incorporated into your WordPress website, providing an array of capabilities tailored to your own requirements.
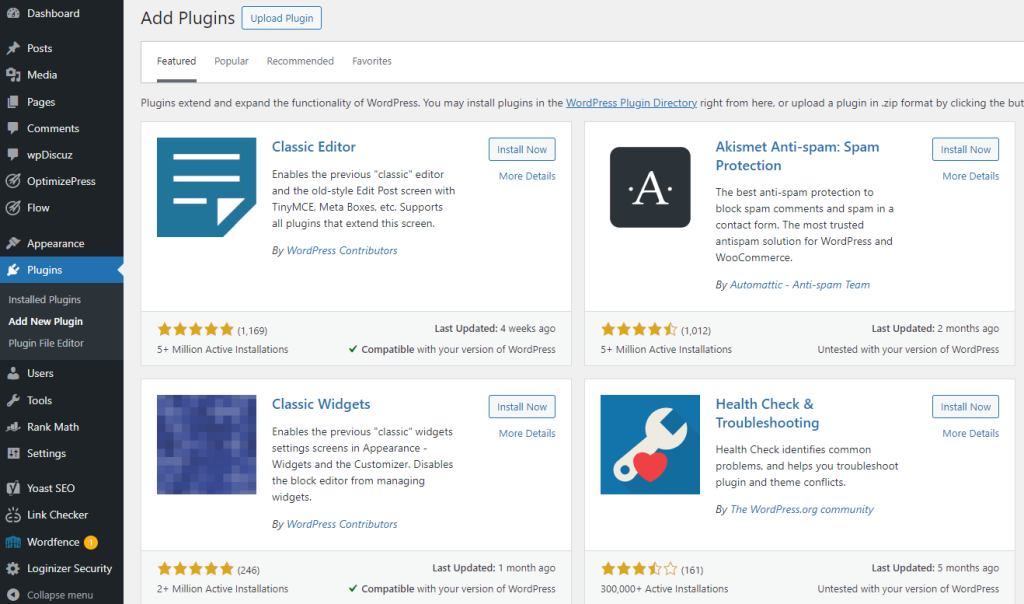
Of all the plugins available, Yoast SEO, Broken Link Checker, and Wordfence Security are three that are must haves for any self-hosted WordPress website.
Yoast SEO is an effective tool for search engine optimization of the content on your website. It offers real-time analysis of your postings and makes recommendations for enhancements to raise the exposure and position of your website on search engine results pages.
Another essential plugin that keeps your blog healthy is Broken Link Checker, which checks your site for broken links. It is essential to have a tool that can automatically find and update these links because they can have a detrimental effect on both SEO and user experience.
Your WordPress blog is under the watchful eye of Wordfence Security, which provides strong defense against intrusions, viruses, and illegal access. Wordfence protects your website with features like virus detection, firewalls, and secure logins.
To utilize these plugins, just go to your WordPress dashboard’s “Plugins” section, select “Add New,” and look for the necessary plugin.
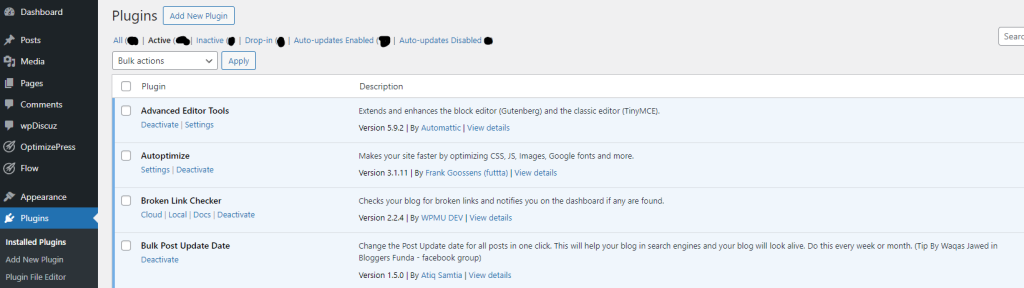
Once installed, you may use them to optimize, maintain, and secure your self-hosted WordPress website by activating and configuring them to your preferences.

Recommended To Change User Info
It’s crucial that you update your user information when you first start blogging so that readers can identify the author.
Click the “Users” tab from the left menu to accomplish this. Next, select “Edit” by clicking on your username.
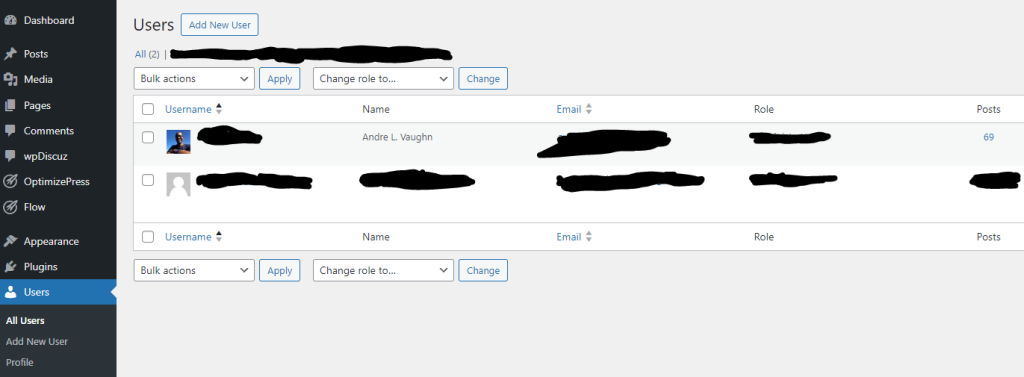
You should modify your email address and nickname at the very least on the user details page. Remember that your username will be visible to the public and will display on all of your postings, so choose it carefully.
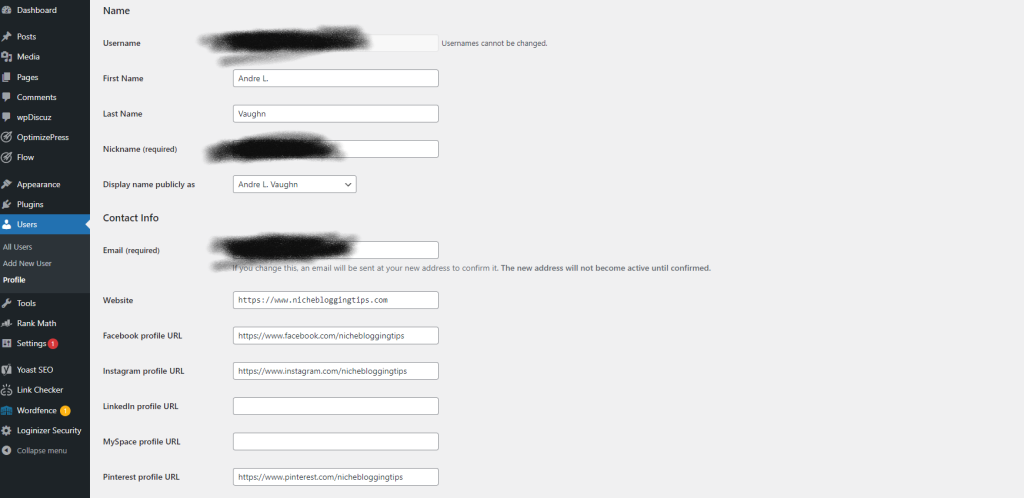
Just enter your preferred name in the “Nickname” field, then select it from the drop-down menu next to “Display name publicly as.” If needed, you can also modify your email address.
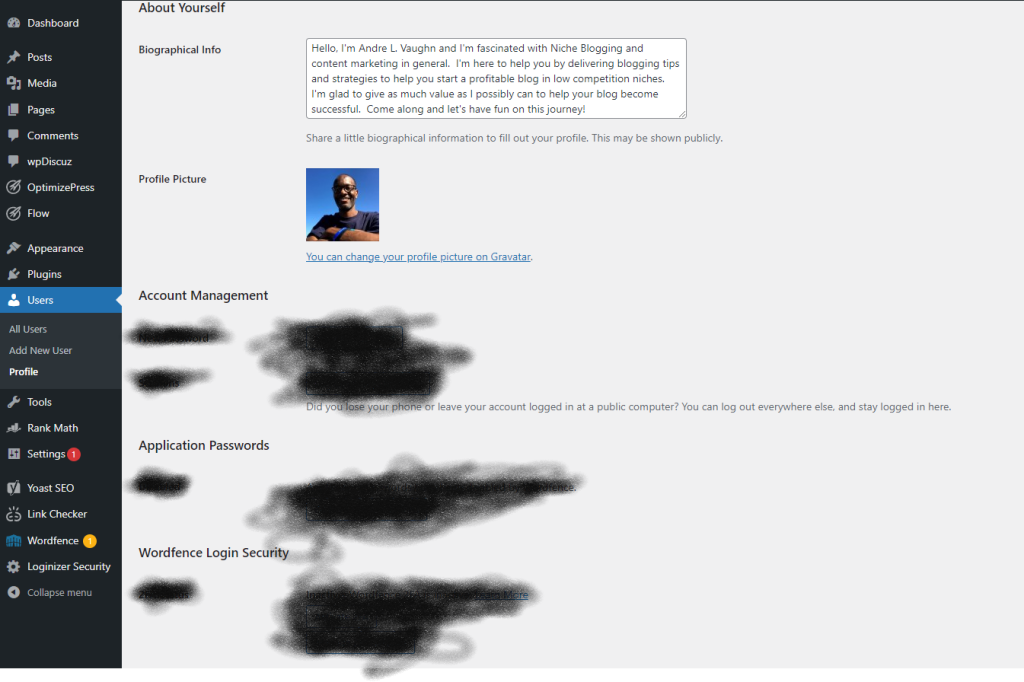
Make sure to click the “Update Profile” button at the bottom of the screen to save the changes after you have completed all the required adjustments.

Permalink Settings (URL Structure)
Your blog creates a new page with a different URL each time you publish a new article. “Permalinks” are the settings for your URL names.
I don’t think the default permalinks setting is the best option because it generates URLs with a bunch of numbers that look somewhat like this: https://www.nichebloggingtips.com/?p=123
Just go and browse over the “Settings” tab on the left menu and select “Permalinks” in order to modify that setting. After that, you can select one of the options on the list.
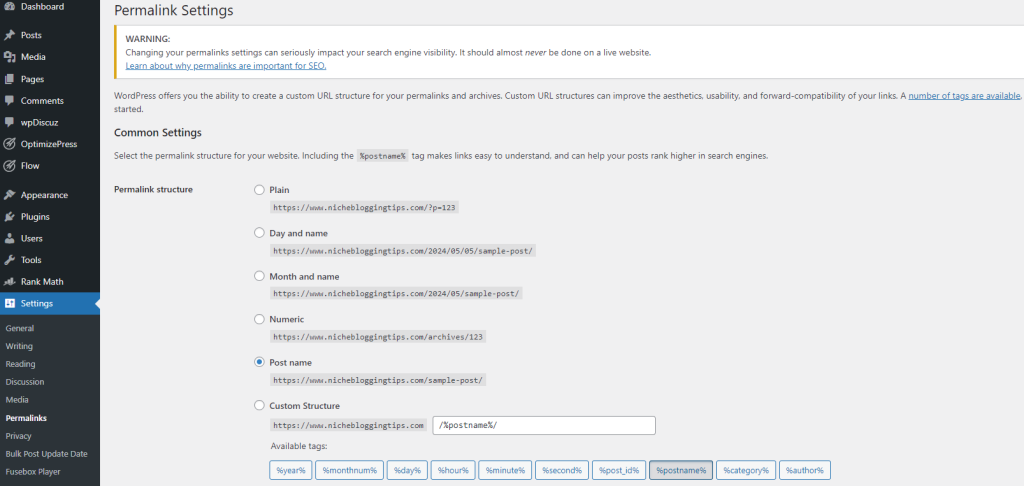
Although I am utilizing the “Post name” choice on nichebloggingtips.com, any of the other alternatives are OK and won’t have any negative effects on how easy it is to use your website.
Simply put, I find the default permalinks option to be really unattractive and search engines like Google and others will not rank your posts that high without clear interpretation of the the URL.

Check Out More Helpful Content
Here’s The Perfect Blog Post Structure For You To Write
What Is A Blog Post? Benefits And Why You Need One
21+ Blogging Tips For Beginners And (Beginner Blogger Mistakes)
What Is A Blog? (Differences And Comparisons To A Website)
WordPress.com VS WordPress.org Self Hosted Or Free (Which Is Better?)
